To create a user, go to Users & Groups > Staff > Add Staff User if you wish to create a Staff user or Users & Groups > Clients > Add Client User if you wish to create a Client user. You will see this "Add User" creation dialogue:
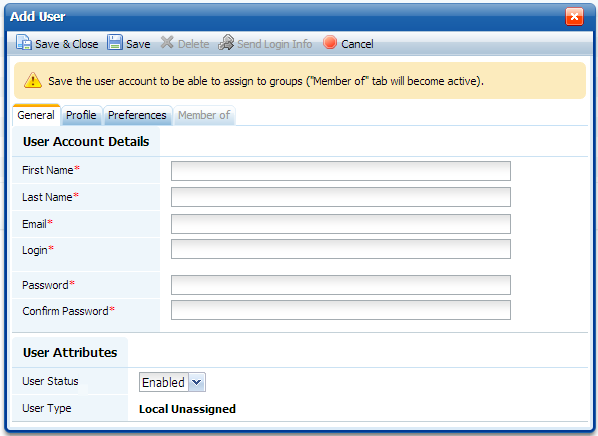
There are several fields that you must fill in order to create a user. They are marked with *
Fill those fields first.
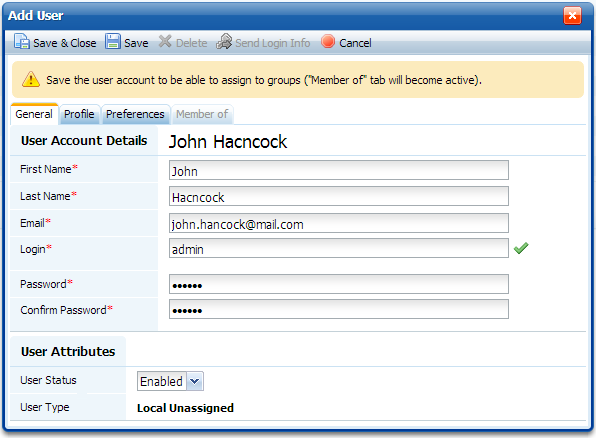
Then click the "Save" button.
Please, save the user details first, before assigning them to a group. The "Member of" tab is deactivated before you save the user details.
You can now change additional user details on the "Profile" tab and his language, date and time format on the "Preference" tab.
Then go to the "Member of" tab to assign the user to a group.
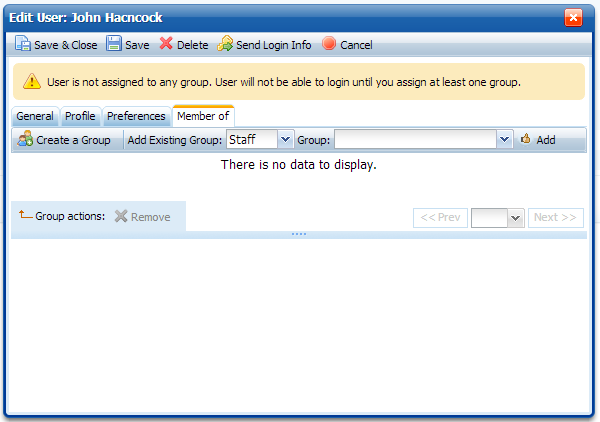
If you need to create a group first (e.g. you do not have any groups yet), you can do that by clicking "Create a Group" button. User will be assigned to that group automatically when you finish creating it.
To assign user to an existing group, select the type - Staff or Client first
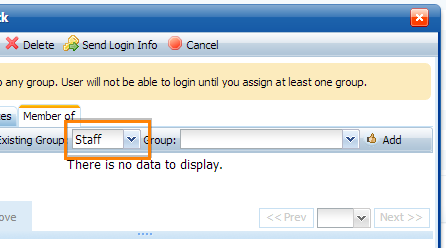
Then select a group from the list on the right
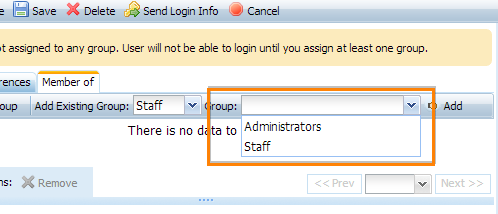
If there are more than 24 groups of that type, you would need to type a part of a group name to search for a desired group.
Then click "Add". You will see that the user has been assigned to a group and can now login to the system.
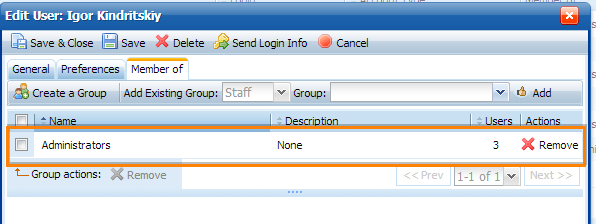
Now you can click the "Send Login Info" button. It will send an email to the user with their login details and a link to the knowledge base.

 Categories