KnowledgeBase Manager Pro has a powerful tool for front-end styles customization. You can adjust front-end layouts and styles to get desired look & feel, for example you can customize it to match your website design. Anyone who has at least basic knowledge of CSS and HTML is able make changes to the front-end look. Check the Live Examples page at our website. That page has a nice collection of links to some of our customer's customized knowledge bases for your inspiration.
Go to the Customization > Manage Templates module in the main menu to get started.
The Template management module screen is divided into three main sections: the template tree is on the left, the text area for template editing on the right, and the legend with variables and text strings at the bottom.
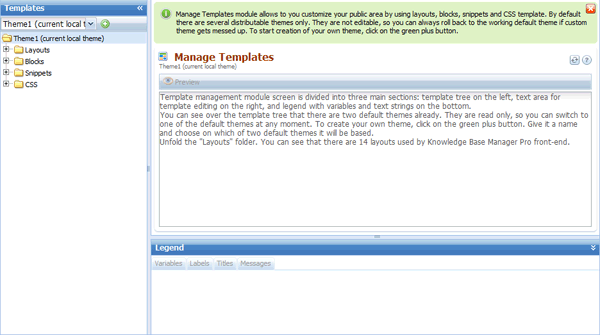
You can see in the drop-down menu at the left-top corner that there are three standard themes already. They are read-only, so you can switch back to one of the standard themes at any moment. To start customizing front-end, create your own theme. For that - click on the green plus button. Give this theme a name and choose on which of the standard themes it will be based.
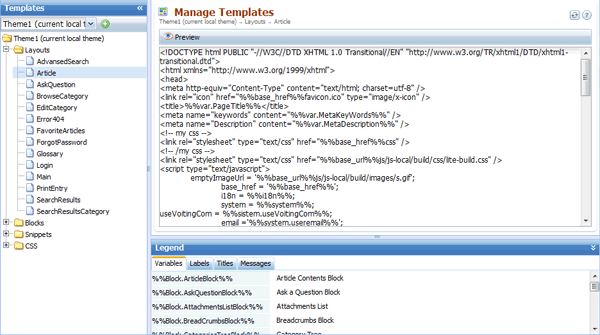
Expand the "Layouts" folder. You can see that there are 14 layouts used by the Knowledge Base Manager Pro front-end. The Layout defines placement of elements on a page. Each layout corresponds to a page type: Glossary layout, BrowseCategory layout, AdvancedSearch layout, Article layout, etc. It has the whole page structure inside, thus defining the general structure.
Each layout includes blocks and snippets for greater simplicity and flexibility.
A Block is a part of layout, which has its own structure and is usually shown in several places. That’s why blocks are separated from layouts. This enables us to edit a block in one place, but apply changes to every single place where this block may appear. Examples of blocks are: CommentFormBlock, MenuBlock, SearchBlock, CommentsListBlock.
Snippets are short elements that usually have a simple structure. They may contain text, code for image insertion, or a repeatable element (for example, the user comment snippet – CommentsUserListSnippet –may be repeated in CommentsListBlock if there are several comments added to some article).
Let's say that we want to edit the page header and put the "My Company Name" text next to the logo. We open the "Main" layout and find there the following text:
This means that when the Main page is shown, it includes the "PageHeaderBlock" for the header. To customize this block, we will find it in the "Blocks" list within the tree. We see that header is arranged as a table, so we just add a cell "<td>My Company Name</td>" next to logo:
Click the "Apply" button to save and update this theme.
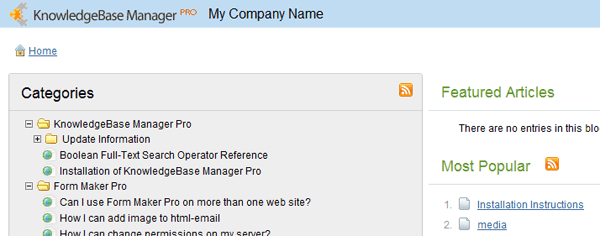
Let's go to the Customization > Styling and Front-end Settings now. Change the current theme to the one that you've just created and click "Save". Then click on "View your KB" in the right upper corner of the screen to see the front-end of your knowledge base. You will see that "My Company Name" appears in the header right next to logo.
Let's see how CSS styles can be edited. Go back to the Customization > Manage Templates module and open the "PageHeaderBlock" block. You can see that the table in header uses the "kmp-header" class.
Let's go to the CSS > CSS page now and find "kmp-header" in CSS styles (kmp-header can be found in the first Header Style block - you will see it on the top):
Let's change the background color to yellow:
Click "Apply" and reload the browser window/tab with the front-end. You will see that background color has been changed.
Editing of layouts and style requires knowledge of HTML and CSS, but it provides full control over your knowledge base look and feel. You can see that full HTML and CSS codes of the front-end are provided and they can be customized from scratch. You can see at our
Customizations Gallery how our customers modify their KBs.
There are also about a hundred customization options in the Customization > Styling and Front-end Settings module. They are arranged in a simple way mostly as checkboxes and input fields. This module provides partial customization, but it is much easier to work with.
 Categories
